歡迎您光臨本站 註冊首頁

構建基於Nginx的Web伺服器

←手機掃碼閱讀     火星人 @ 2014-03-12 , reply:0
  

一、簡介

Nginx("engine x") 是一個高性能的 HTTP 和反向代理伺服器,也是一個 IMAP/POP3/SMTP代理伺服器。 Nginx 是由Igor Sysoev為俄羅斯訪問量第二的Rambler.ru站 點開發的,它已經在該站點運行超過四年多了。Igor 將源代碼以類BSD許可證的形式發布。自Nginx 發布四年來,Nginx 已經因為它的佔有內存少、併發能力強、穩定性、豐富的功能集、示例配置文件和低系統資源的消耗而聞名了。目前國內各大門戶網站已經部署了Nginx,如新 浪、網易、騰訊等;國內幾個重要的視頻分享網站也部署了Nginx,如六房間、酷6等。新近發現Nginx 技術在國內日趨火熱,越來越多的網站開始部署Nginx。

二、系統環境

系統平台:RHEL 5.4

Nginx版本:nginx-1.0.15

三、安裝及配置Nginx

1.安裝pcre軟體包,pcre的作用為nginx提供兼容perl的正則表達式庫。默認情況下,Nginx只處理靜態的網頁請求,也就是html.如果是來自動態的網頁請求,比如*.php,那麼Nginx就要根據正則表達式查詢路徑,然後把*.PHP交給PHP去處理,可以採用RHEL5光碟自帶的rpm包進行安裝,另外也可下載最新的源碼包進行編譯安裝。

[root@localhost~]# rpm -ivh pcre-6.6-2.el5_1.7

[root@localhost~]# rpm -ivh pcre-devel-6.6-2.el5_1.7

2.安裝nginx
[root@localhost~]# tar zxvf nginx-1.0.15.tar.gz
[root@localhost~]# cd nginx-1.0.15

[root@localhost nginx-1.0.15]# ./configure

更多的安裝配置
./configure --prefix=/usr/local/nginx
--with-openssl=/usr/include (啟用ssl)

--with-pcre=/usr/include/pcre/ (啟用正規表達式)

      –with-pcre=DIR (set path to PCRE library sources)

  注意:set path to PCRE library sources是讓你設置到源碼目錄,而不是編譯安裝后的目錄。

--with-http_stub_status_module (安裝可以查看nginx狀態的程序)
--with-http_memcached_module (啟用memcache緩存)
--with-http_rewrite_module (啟用支持url重寫)

\\其他更多配置選項可以使用./configure --help命令進行查看

[root@localhost nginx-1.0.15]# make && make install

四、Nginx服務的運行控制

1.添加nginx運行的用戶組:
[root@localhost nginx-1.0.15]# useradd -s /sbin/nologin nginx
 
2.Nginx默認安裝在/usr/local/nginx目錄下,為了方便應用,可以添加一個nginx主程序的符號鏈接:
[root@localhost nginx-1.0.15]# ln -sf /usr/local/nginx/sbin/nginx  /usr/sbin
 
3.使用nginx -t命令檢查nginx配置文件是否有語法錯誤:
[root@linux nginx-1.0.15]# nginx -t
nginx: the configuration file /usr/local/nginx/conf/nginx.conf syntax is ok
nginx: configuration file /usr/local/nginx/conf/nginx.conf test is successful
[root@linux nginx-1.0.15]#
 執行nginx -t后出現上述提示表示配置文件語法正確。9
 
4.使用nginx啟動服務,然後使用netstat命令進行查看:

[root@linux nginx-1.0.15]# netstat -anpt|grep 80
tcp        0      0 0.0.0.0:80                  0.0.0.0:*                   LISTEN      16787/nginx         
[root@linux nginx-1.0.15]#

5.nginx啟動成功后,可以在瀏覽器中查看初始的web頁面:

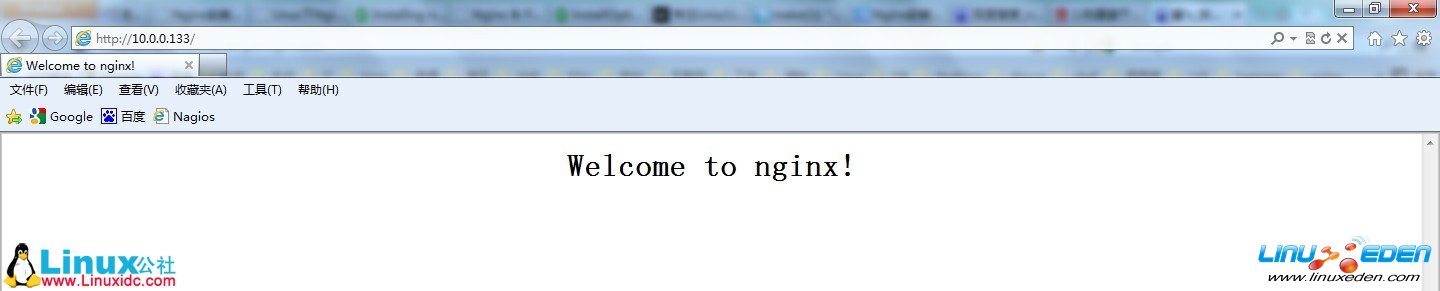
在客戶端瀏覽器中執行:http://10.0.0.133(伺服器IP地址)進行查看:

另外在伺服器命令行下使用文本瀏覽器工具elink進行查看:

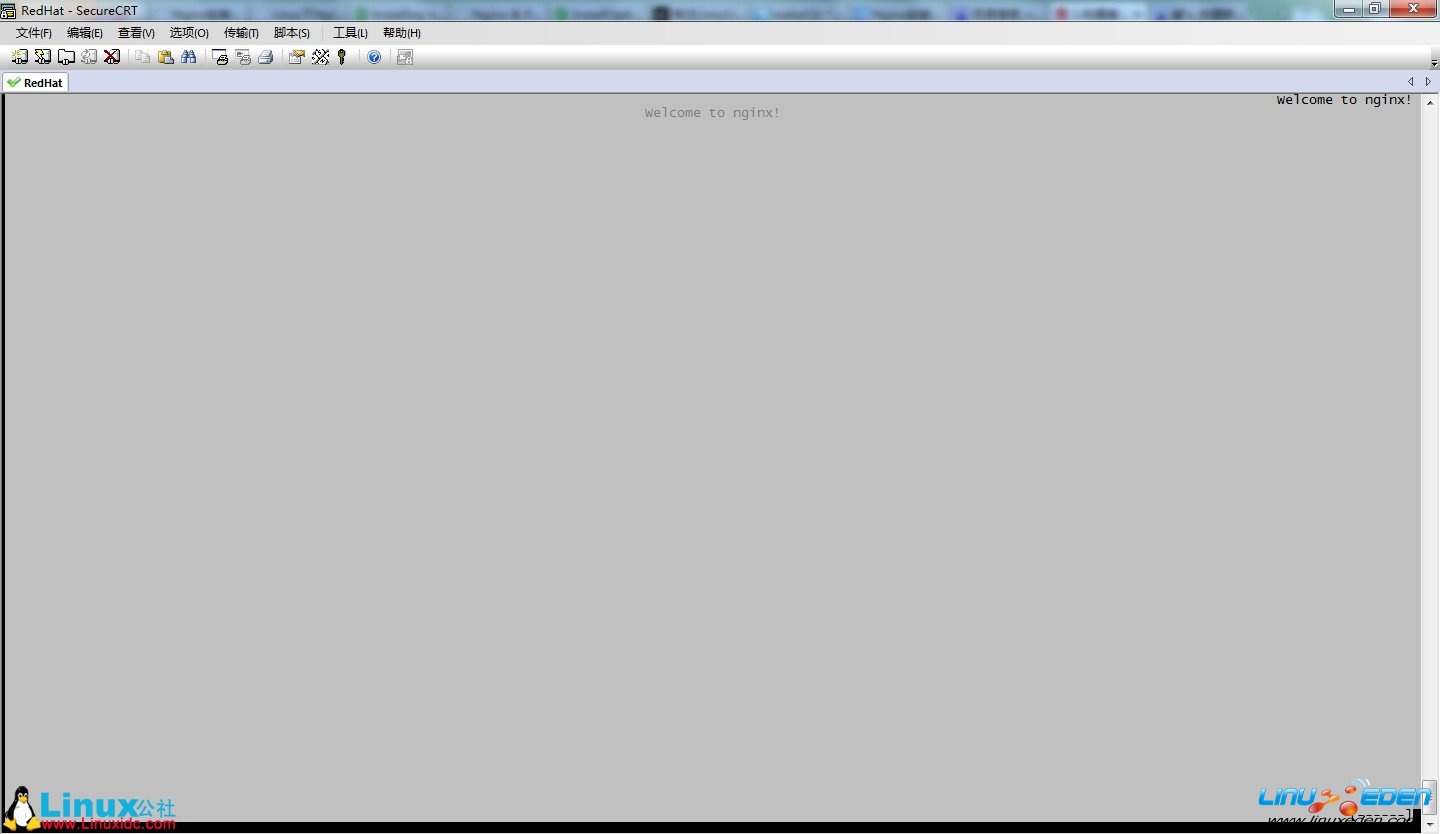
[root@localhost nginx-0.8.54]# elinks http://10.0.0.133

6.使用系統信號控制nginx進程:
啟動:nginx
重啟:kill -HUP `cat /usr/local/nginx/logs/nginx.pid`

[root@localhost~]# kill -s HUP nginx   //重新載入配置文件,等同於“killall -1 nginx”
[root@localhost~]# kill -s QUIT nginx  //安全退出,等同於“kill -3 nginx”
[root@localhost~]# kill -s TERM nginx //快速退出,不等待處理完當前連接
 
另外,為了方便管理,可以添加一個nginx服務腳本,使用chkconfig和service命令管理nginx服務:
[root@localhost~]# vi /etc/init.d/nginx

#!/bin/bash
 #description: Nginx Service Control Script
 case "$1" in
   start)
          /usr/sbin/nginx   
          ;;
   stop)
          /usr/bin/killall -s QUIT nginx
             ;;
   restart)
          $0 stop
          $0 start
          ;;
   reload)
          /usr/bin/killall -s HUP nginx
          ;;
   *)
     echo "Usage:$0 {start|stop|restart|reload}"
     exit 1
 esac
 exit 0

[root@localhost~]# chmod a+x /etc/init.d/nginx    為nginx腳本賦予可執行許可權
[root@localhost~]# chkconfig --add nginx
[root@localhost~]# chkconfig --level 2345 nginx on

接下來就可以使用service nginx stop|start|restart|reload對nginx服務進行控制:

[root@linux nginx-1.0.15]# service nginx restart

[root@linux nginx-1.0.15]# !nets
netstat -anpt|grep 80
tcp        0      0 0.0.0.0:80                  0.0.0.0:*                   LISTEN      16787/nginx         
[root@linux nginx-1.0.15]#


[火星人 ] 構建基於Nginx的Web伺服器已經有429次圍觀

http://coctec.com/docs/net/show-post-68184.html